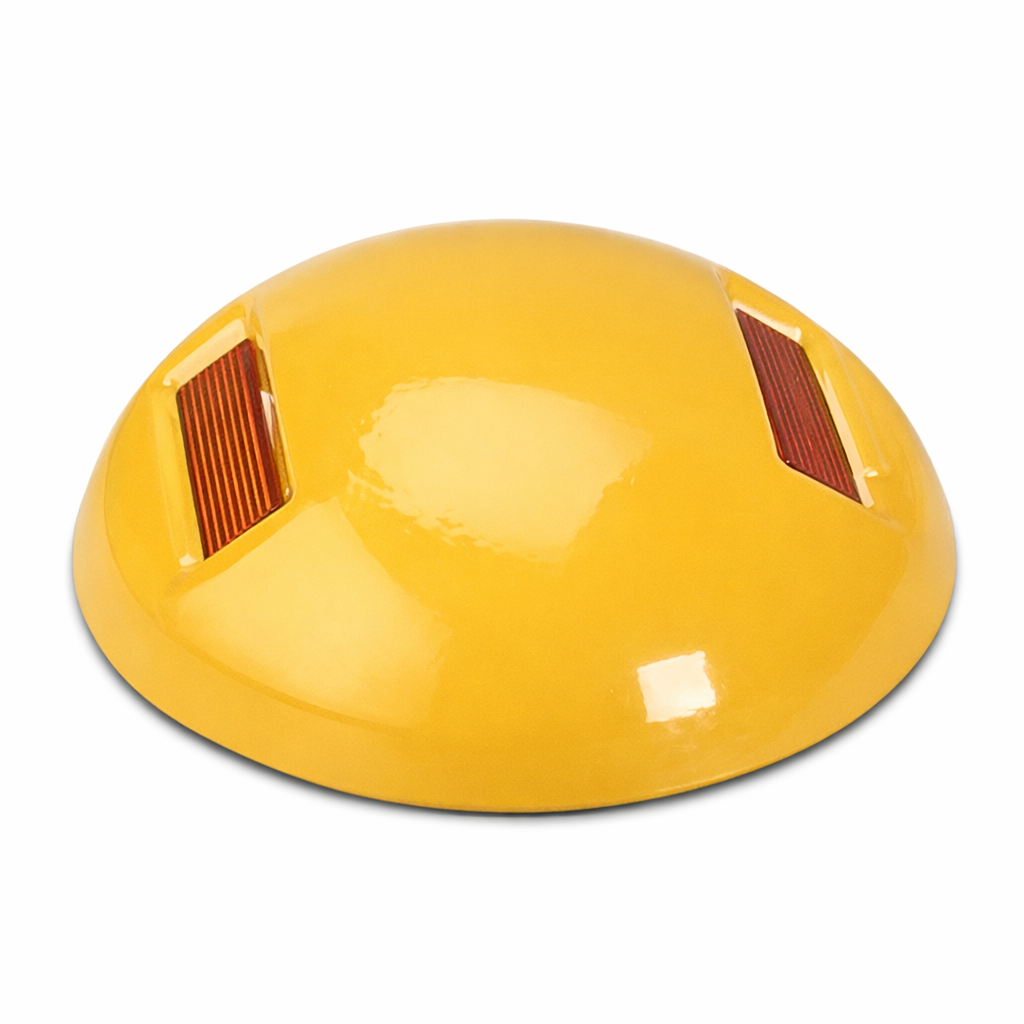
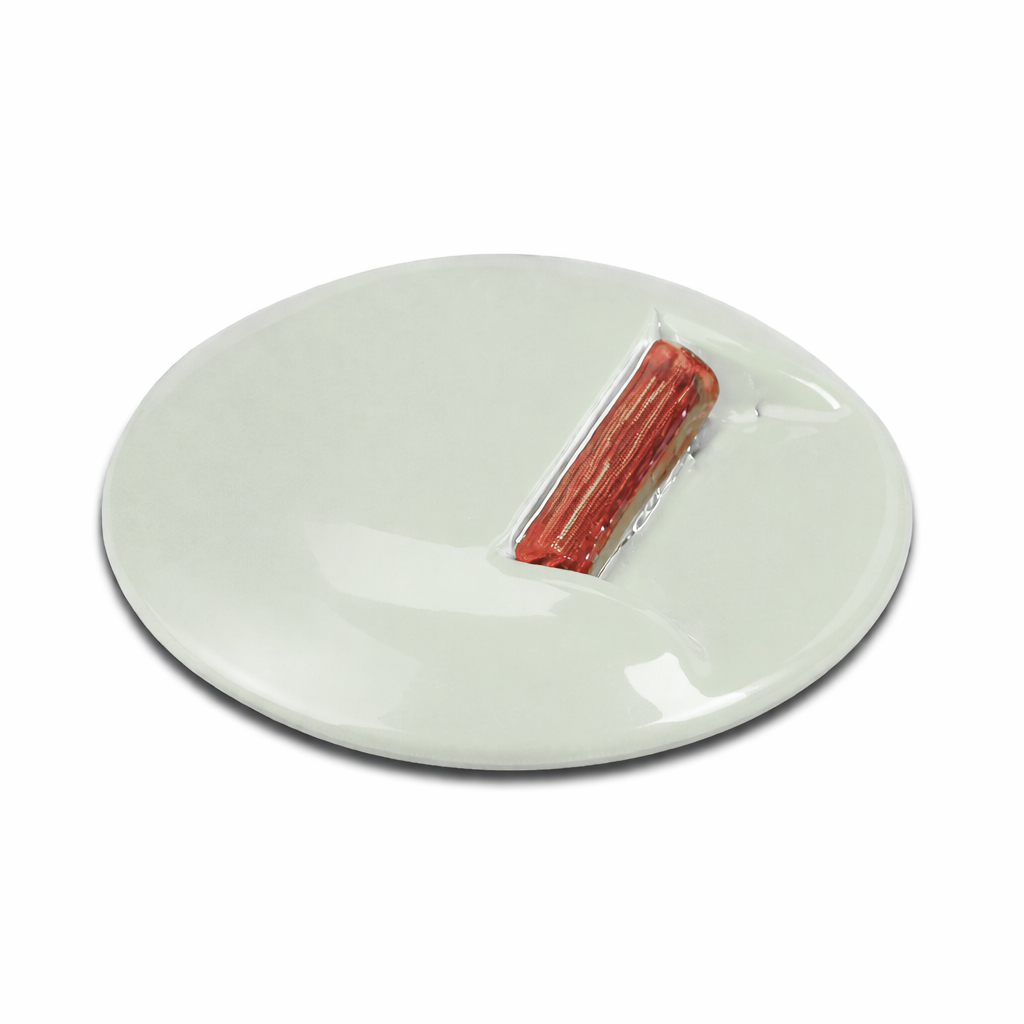
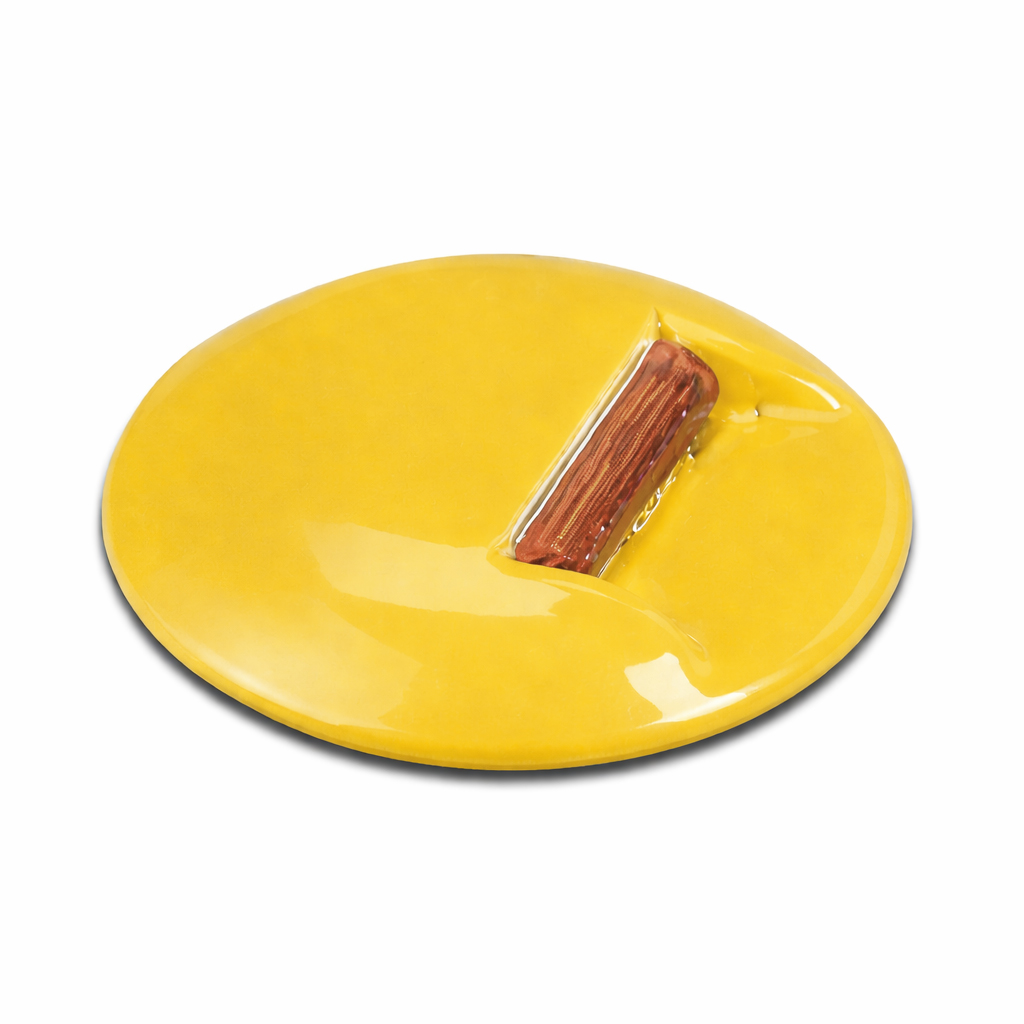
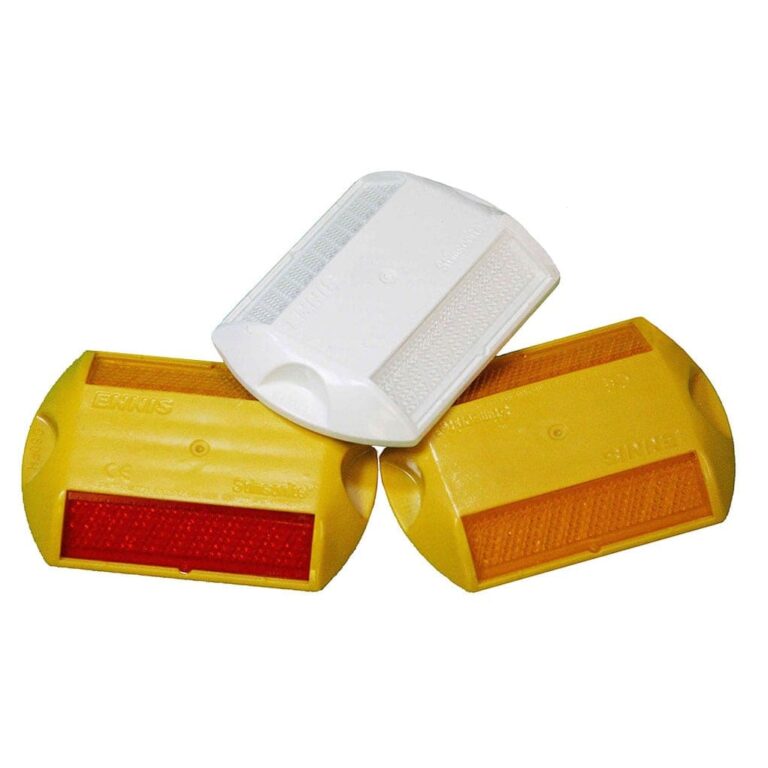
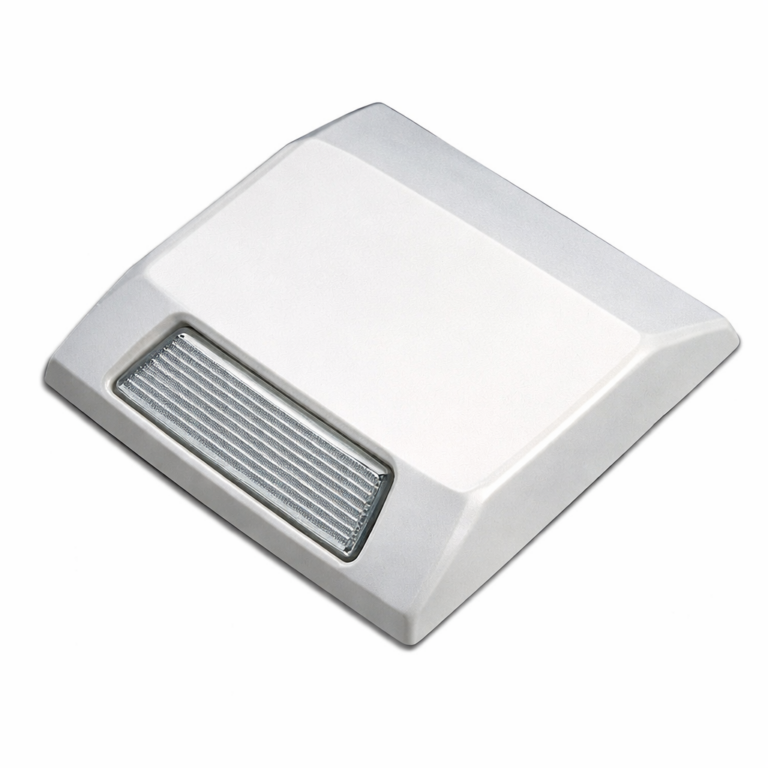
Ceramic Channel Markers

Ceramic Channel Markers provide ultimate daytime/nighttime visibility and offer a cost effective alternative to painted stripes.

Clear
Qty:
Add to quote

Description

  • Available body colors include yellow and white. Choose between non-reflective, one-way reflective, and two-way reflective models.
  • Made of weather-resistant glazed ceramic.
  • Virtually maintenance-free.

Can be used for the following applications:

  • City Streets
  • Safety Zones
  • Runways
  • Intersections
  • Parking Spaces

Get ready to rumble with ceramic channel markers! No, that’s not just a figure of speech—in addition to providing better daytime and nighttime visibility over traditional traffic markings, channel markers by Transline exhibit a distinct “rumble” effect when driven over by motor vehicles. Between the noise, their bright body colors, and (optional) reflective lenses, these little buttons are practically impossible to miss. And that makes them a valuable tool in promoting better safety for both drivers and pedestrians alike.

Use ceramic channel markers on city streets, safety zones, runways, intersections, parking spaces, and more. Markers will help facilitate fair road-sharing practices and keep lanes of traffic organized. They can also be placed near curbs to discourage motorists from “cutting corners,” thus reducing the potential for damage to street signs and personal property.

When paired with heavy-duty adhesive, markers will stick to almost any paved surface. Properly installed channel markers can last 3-4 times longer than painted markings, making them a cost-effective alternative to traditional traffic paint.

How to Use

Please note that ceramic channel markers are NOT an appropriate substitute for speed bumps or speed tables. Always comply with local laws and ordinances when it comes to traffic and lane markings. In general, white buttons should be used to designate one-way traffic, while yellow indicates two-way traffic.

To ensure a strong hold, use only industrial-grade epoxy adhesive, butyl pads, or bituminous adhesive to stick the markers to your desired surface, and only attempt installation on clean, dry pavement. Recommended drying/setting time will vary based on your choice of adhesive, the condition of the surface to be marked, and ambient temperature and weather conditions. Always follow the manufacturer’s instructions for proper installation.